Developing a client-based iPart
iMIS allows you to create client-based iParts and upload those iParts to the RiSE content management system. The new iParts will make use of single-page architecture, offering performance benefits. This is the preferred method for developing new iParts.
If you are developing multiple iParts for an organization, you should create a folder named for the organization then create separate subfolders for each iPart. When you're finished, create a zip file of the entire folder contents and send the zip file to your client for them to upload to iMIS.
Note
The folder structure for the content item is defined by the folder structure in the .zip file. For example, if WidgetWorld.zip contains a top-level folder named WorldOne, the content item will have a root folder named WorldOne.
Note
You can view a sample client-based content item on GitHub:
https://github.com/Advsol/Innovations2019-settings-demo
Creating a simple client-based iPart in iMIS
Do the following to create a client-based iPart:
1. On your local machine, create a uniquely named folder to store all code for the iPart to work properly:
- Add all of the code for your iPart in this one folder in preparation for upload into iMIS. You can have as many separate folders as you need (one for each unique iPart).
- If you are creating multiple iParts to be deployed together, you should create a top-level folder with subfolders for each iPart.
- It is a recommended practice to give your top-level folder an organization-specific name or an otherwise unique name. For example, if your company is called WidgetWorld, and you create one iPart called Hello World and a second iPart called Goodbye World, you should create a folder named WidgetWorld with two subfolders:
- HelloWorld
- GoodbyeWorld
When you create the zip file of the entire folder contents, the zip file will be named WidgetWorld.zip and will contain the two subfolders with all the code necessary for each of your new iParts.
2. Create an index.html file. This is the entry page for your website.
- It is a good practice to name your website's initial page index.htm or index.html. Web hosts usually configure their servers to search for and open the index.htm or index.html file when requested by a browser.
- Your index.html file should call any code needed in order to implement your iPart functionality (for example, Angular JavaScript). This file, and any related code files that will be deployed in iMIS, should be saved in your iPart folder.
- If your iPart is calling any other code that will be deployed in iMIS, you should reference it using a relative path to the deployment folder in iMIS. The deployment folder is named Areas and your iPart folder will be created under it. For example, if your HelloWorld iPart calls an Angular controller named HelloWorldController.js, then you would reference its path as ~/Areas/WidgetWorld/HelloWorld/HelloWorldController.js.
Note
ASP.net server controls recognize a tilde (~) as a shortcut to the root of a virtual path. When you use script imports within your iPart, you can substitute a tilde and the application will expand the path in the same way.
3. Create a zip file of all the folders containing iPart files. Be sure to note the folder name as you will need to enter the paths when creating the content types as part of deploying the iPart.
Deploying a client-based iPart in iMIS
Do the following to deploy a client-based iPart:
1. Upload the zip file to the iMIS Document system:
a. From the Staff site, go to RiSE > Document system and select the iPartSource folder. This is the folder into which all client-based iParts must be uploaded.
Note
If the iPartSource folder does not yet exist, you must create it:
1. Go to RiSE > Document system.2. Select New > Folder.
3. Enter iPartSource as the Folder Name.
Make sure your folder is named iPartSource. iMIS looks for spelling and case on the folder name.4. Select Allow only the following types of objects in this folder (select all that apply).
5. Highlight Zip File and click Save.
Note
iMIS will extract your .zip files automatically if they are uploaded to the correct folder. Make sure your folder is named iPartSource.
iMIS looks for spelling and case on the folder name.
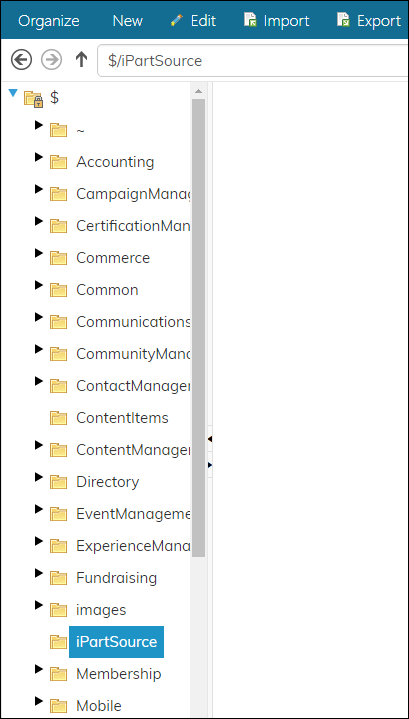
b. Highlight the iPartSource folder. Select New > Zip File and upload the zip file you created.
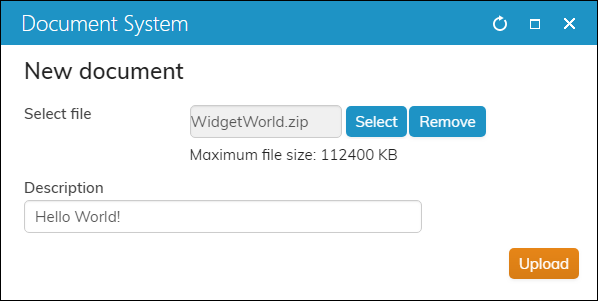
c. Provide a description and click Upload. The zip file will then be displayed in the iPartSource folder.
2. Add a new content type to expose the content item and specify the URL to the index.html file. When a content type is created, iMIS registers the new content item and adds it to the Content Gallery.
a. In the iMIS Staff site, go to RiSE > Maintenance > Content types.
b. Create a new folder with a unique name (for example, Widget World) if it does not already exist. Select the Allow only the following types of objects in this folder option and select Content Type only from the list.
Note
Create a folder with the name of your organization for organizing your custom content items. This will prevent your content items from being accidentally overwritten. The folder is also added to the Content Gallery.
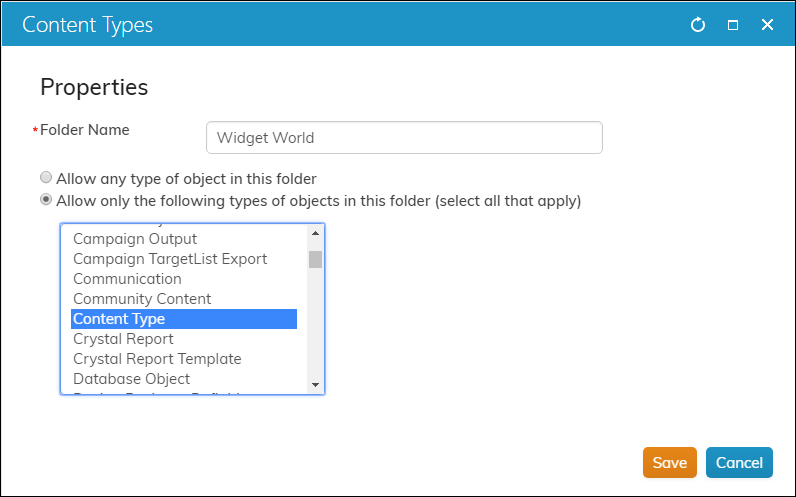
c. Click Save.
d. Highlight the new folder and select New > Content Type.
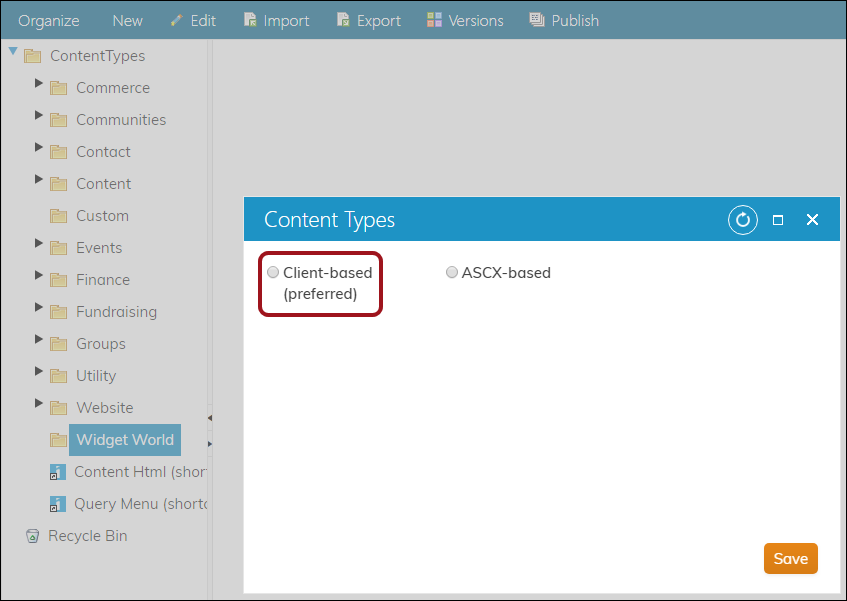
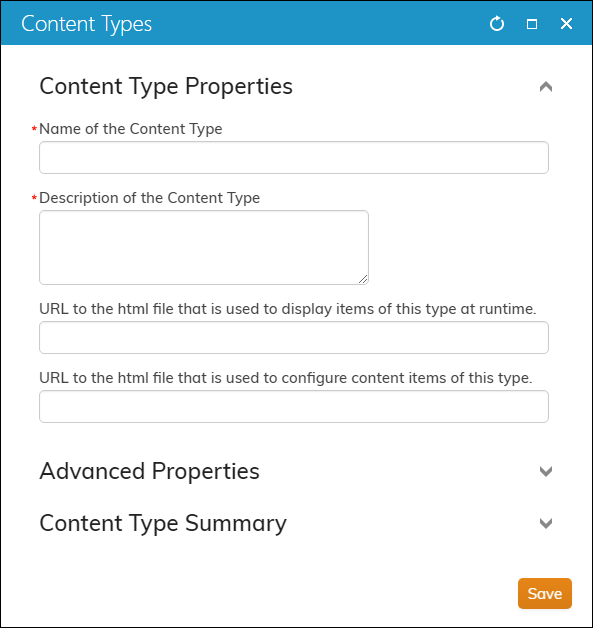
e. Select Client-based (preferred) and enter a name and description for the content type.
Note
The URLs you enter for the following properties should be entered as a relative path to the deployment folder named iPartSource. You need to enter the same folder path as created for the zip file. For example, if the folder path was WidgetWorld/HelloWorld, you would enter the following as the URL:
~/iPartSource/name-of-zip-file/WidgetWorld/HelloWorld/filename
You can also host the content items outside of iMIS. For example, the entry point could be:
https://myCDN/WidgitWorld/HelloWorld/index.html
f. In the URL to the html file that is used to display items of this type at runtime field, provide the relative path to the initial HTML file, for example:
~/iPartSource/WidgetWorld.zip/WidgetWorld/HelloWorld/index.html
g. In the URL to the html file that is used to configure content items of this type field, provide the relative path to your configuration file for your new content item, if you created one.
h. Advanced Properties – For more complex content items, you can optionally specify any of three advanced properties if they apply:
- (Optional) Enter the URL to the control or page that is used to collect parameters for content items of this type.
- Enter the URL to the icon graphic that represents items of this type.
- Enter the URL to the configuration help page.
i. Click Save.
The new content item is added to the iMIS Content Gallery and can be added to content records for publishing.
Disabling caching on the index.html file
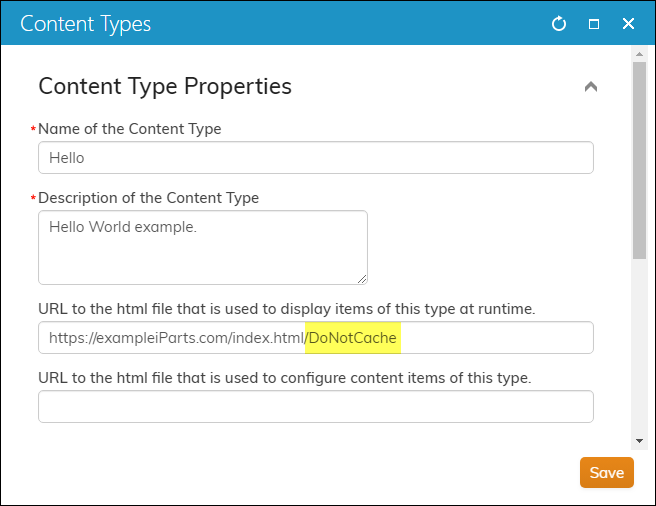
While developing an iPart, you can use DoNotCache on the content type URL to disable the caching on the index.html file. You no longer need to clear the iMIS cache when you make changes to your index.html file.
Warning!
Do not go live with the DoNotCache option in place; it will affect performance negatively.
A custom attribute for a <script> named Polyfill is available. This attribute pushes your imported content to the <head> of the Document Object Model (DOM). The filename is also deduped.
Note
Only the filename is deduped. If you import the same file from multiple paths or CDNs, iMIS will randomly select the file that is imported.
This custom attribute does not apply to polyfills only; you can use the attribute on any script import you want to push to the <head> of the DOM.
When an imported <script> is pushed to the <head> of the DOM, iParts are also de-duped. If you have three iParts on the same page, each with the same imports, the filename is deduped and there is one entry only for the <script> import on the DOM.
This is helpful as some APIs, for example zonejs, will allow importing once only.
Updated about 6 years ago
